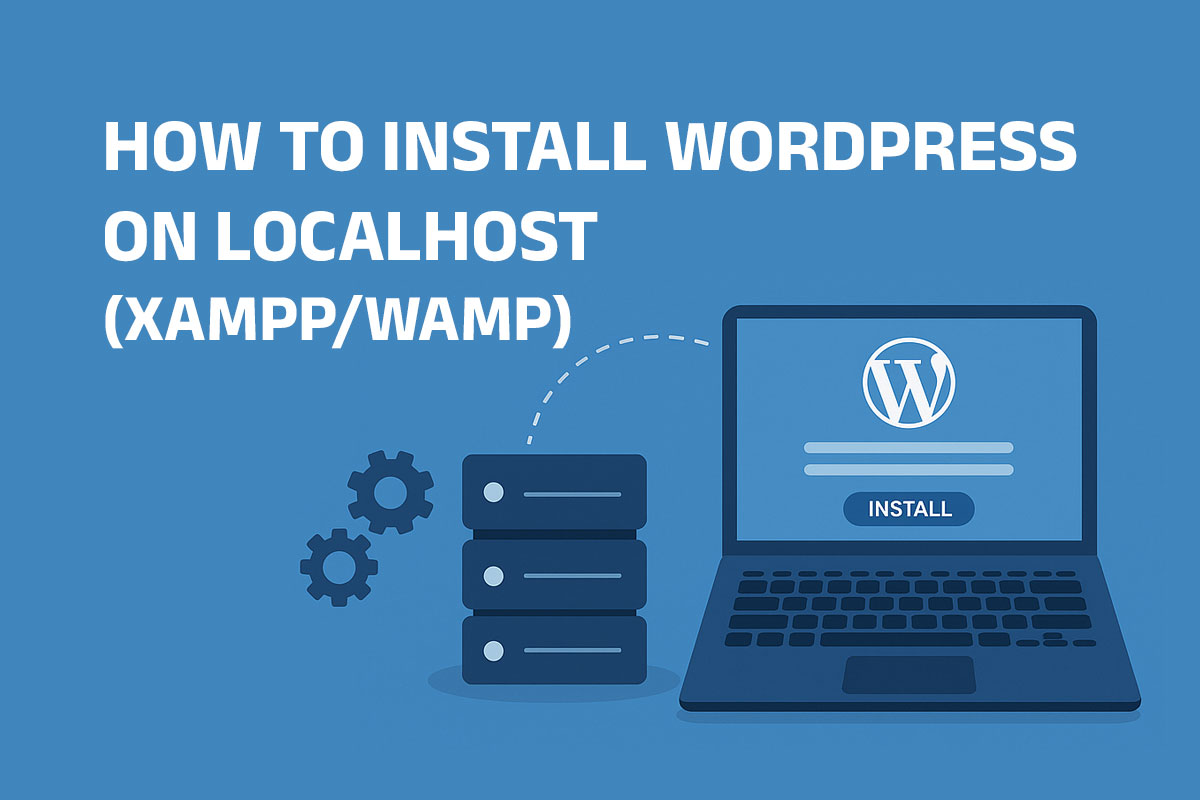
Creating a website with WordPress is easier than ever, and using a local server environment like XAMPP or WAMP lets you develop your site offline before pushing it live. Whether you’re a beginner learning the ropes or a developer testing new features, installing WordPress on localhost is a smart move. In this guide, you’ll learn how to install WordPress step-by-step using XAMPP or WAMP.
✅ What is Localhost?
Localhost refers to your own computer acting as a server. You can host websites offline, test themes/plugins, and experiment without affecting a live site or spending money on hosting.
To simulate a server environment on your PC, we use software like XAMPP or WAMP, which include:
- Apache (web server)
- MySQL (database)
- PHP (server-side scripting)
🛠️ Tools You’ll Need
- XAMPP or WAMP (for local server)
- WordPress zip file (from wordpress.org)
- A computer (Windows/macOS/Linux)
🔁 Option 1: Install WordPress on Localhost Using XAMPP
Step 1: Download and Install XAMPP
- Visit apachefriends.org.
- Download the version suitable for your operating system.
- Run the installer and follow the installation steps.
- Launch the XAMPP Control Panel and start:
- Apache
- MySQL
🔎 If Apache or MySQL fails to start, make sure ports 80 and 3306 are not already in use.
Step 2: Create a Database
- Open your browser and go to:
http://localhost/phpmyadmin - Click on Databases tab.
- Enter a database name (e.g.,
wordpress_site) and click Create.
Step 3: Download and Extract WordPress
- Go to wordpress.org/download.
- Download the latest version of WordPress.
- Extract the
.zipfile. - Move the WordPress folder to:
C:\xampp\htdocs
(Rename it to your site’s name if you like.)
Step 4: Run WordPress Installer
- In your browser, go to:
http://localhost/wordpress(or your renamed folder) - Choose your language and click Continue.
- Fill in your database details:
- Database Name:
wordpress_site - Username:
root - Password: (leave blank)
- Database Host:
localhost - Table Prefix:
wp_
- Database Name:
- Click Submit → Run the Installation.
- Fill in site details:
- Site Title, Admin Username, Password, Email.
- Click Install WordPress.
✅ Done! You can now log into your local WordPress site at:http://localhost/wordpress/wp-admin
🔁 Option 2: Install WordPress Using WAMP
Step 1: Download and Install WAMP
- Visit wampserver.com.
- Download and install the correct version for your OS.
- Launch WAMP and ensure the icon turns green (indicating all services are running).
Step 2: Create a Database
- Go to
http://localhost/phpmyadmin - Click on Databases.
- Enter a name like
myblog, and click Create.
Step 3: Move WordPress Files
- Download WordPress from the official website.
- Extract it and move the folder to:
C:\wamp64\www - Rename the folder to something like
myblog.
Step 4: Install WordPress
- Visit:
http://localhost/myblog - Complete the setup as shown in the XAMPP steps above.
🎯 Bonus Tips
- Backup Often: Use plugins like UpdraftPlus once your site is live.
- Use WP Reset: Helpful if you want to start fresh during local testing.
- Test Responsiveness: Use browser dev tools to preview mobile view.
- Sync Live Site: Use tools like Duplicator or All-in-One WP Migration to move from localhost to live server.
🧠 Conclusion
Installing WordPress on localhost using XAMPP or WAMP is a game-changer for developers and bloggers alike. It gives you the freedom to experiment, learn, and build confidently — all without worrying about messing up a live site. Once you’re ready, you can move your project online and go live with ease.


abdiproduction